Hammers

How to Replace a Broken or Old Hammer Handle

Abentitools.com is part of the Amazon Services LLC Associates Program, which allows us to earn fees by linking to Amazon.com and affiliated sites. 

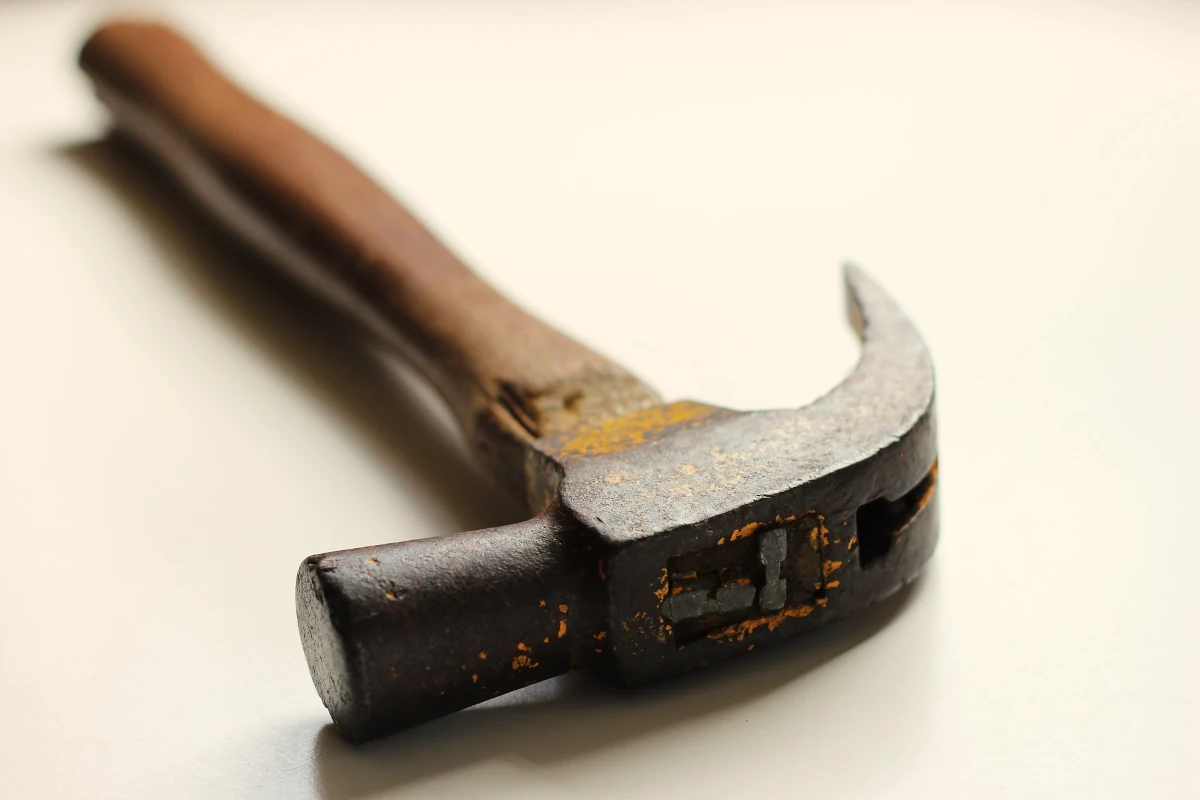
Hammers are essential tools in many households and workshops, used for everything from simple repairs to complex construction tasks. The hammer's design has remained relatively unchanged for centuries, typically consisting of a metal head and a wooden handle. However, like all tools, hammers can wear out over time, especially their wooden handles. Handles may break due to repeated stress, exposure to harsh conditions, or simply aging. This article aims to guide you through the process of replacing an old or broken wooden hammer handle, ensuring that your hammer remains functional and safe to use.

Replacing a hammer handle is not only necessary when the handle breaks but can also be a great way to refresh an old tool. Whether you're dealing with a splintered, cracked, or just worn-out handle, this guide will provide you with the steps and tips needed to restore your hammer to its former glory.

Replacing the Handle on a Hammer

Changing a hammer handle might seem daunting at first, but with the right approach, it can be a straightforward process. Whether you're replacing a broken handle or simply upgrading to a better grip, this section will walk you through each step of the process.

Step 1: Assessing the Damage

Before you begin the replacement process, it's crucial to assess the extent of the damage to the existing handle. Look for signs of splintering, cracking, or loosening where the handle meets the head. This initial assessment will help you determine the best approach for removing the old handle and selecting a suitable replacement. It's essential to identify the exact cause of the damage to avoid similar issues in the future and ensure a secure fit for the new handle.

Step 2: Buying a New Handle

Finding the right replacement handle is key to a successful repair. When choosing a new handle, consider the type of wood, the length, and the shape. Common types of wooden hammer handles include hickory, ash, and oak, each offering different levels of durability and flexibility. Hickory is often preferred for its strength and shock absorption. Measure the existing handle or the hammer head to determine the correct length needed. Handles come in various sizes, so ensure the one you select matches the original for a comfortable fit, you can check the handles here.

Step 3: Cutting a Notch in the Handle (Skip if the Handle Already Has It)

If the new handle doesn't come with a pre-cut notch, you'll need to create one. This notch will allow for the insertion of a wedge to secure the handle in place. The notch should be cut into the top of the handle, aligned with the hammer head's eye. The depth and width of the notch should be just enough to accommodate the wedge, ensuring a secure fit without weakening the handle.

Step 4: Removing the Old/Broken Handle

Removing the old handle can be tricky, especially if it's tightly wedged into the hammer head. Begin by securing the hammer head in a vice or on a stable surface. Use a punch and hammer to drive the remaining wood out of the head, taking care to avoid damaging the metal. If the handle is particularly stubborn, you may need to carefully drill several holes around the metal wedge or use heat to loosen any adhesive.

Step 5: Shaping the New Handle to Fit the Head

Once the old handle is removed, the new handle must be shaped to fit the hammer head. Start by checking the fit of the new handle; it should be slightly oversized. Carefully shave down the handle using a rasp or sandpaper until it fits snugly into the head. The fit should be tight enough to hold the head securely but not so tight that it risks splitting the handle during use.

Step 6: Dry Fitting the Handle Inside the Head

Before permanently securing the handle, perform a dry fit. Insert the handle into the hammer head and check for any issues, such as an uneven fit or gaps. This step allows you to make any final adjustments before committing to the final installation. Pay close attention to the alignment and ensure that the handle is centered within the head.

Step 7: Wedging and Cutting

After ensuring a good fit, it's time to wedge the handle. Insert a wooden wedge into the notch and drive it in with a hammer. This wedge expands the wood, securing the handle tightly in the head. Some replacement handles come with a metal wedge or additional wedges for added security. Once the wedges are in place, trim any excess wood protruding from the head, being careful not to damage the handle or head.

Step 8: Inserting Steel Wedge

The final step is to drive in step or steel wedges, if included with your handle. These wedges provide additional security by further expanding the handle within the head. Insert them perpendicular to the wooden wedge and drive them in until they are flush with the top of the handle. These wedges ensure that the handle remains secure and prevents any loosening over time.

Why Do Hammer Handles Break?

Hammer handles break for various reasons, including excessive force, improper storage, and natural wear and tear. Repeated heavy use, particularly striking hard materials, can weaken the wood fibers, leading to cracks or breaks. Environmental factors like moisture, extreme temperatures, and UV exposure can also degrade the wood. To prevent premature damage, it's essential to use the right hammer for the task, avoid striking metal or hard surfaces directly, and store the tool in a dry, cool place.

Tips for Caring for Your New Handle

To extend the life of your new hammer handle, consider these care tips:

  • Regular Inspections: Check for signs of wear, such as cracks or splinters, and address them promptly.
  • Proper Storage: Keep your hammer in a dry, cool place to avoid moisture damage and warping.
  • Avoid Overuse: Use the right hammer for the task at hand, and avoid excessive force or using the hammer for unintended purposes.
  • Maintenance: Occasionally sand the handle and apply a protective oil, like linseed oil, to keep the wood conditioned and strong.

Conclusion

Replacing an old or broken hammer handle is a practical skill that can extend the life of your tools and ensure safety during use. By following the steps outlined in this guide, you can confidently tackle the replacement process and enjoy a rejuvenated hammer. Proper care and maintenance will help prevent future handle breaks, making your hammer a reliable companion for years to come. Remember, a well-maintained tool is not only safer but also more effective in getting the job done.