Blog
How are Hammers Made?

The hammer is the most common tool and everyone has at least one hammer at home. If you consider the transformation of the hammer, it’s fascinating how it underwent huge improvements, even if those took centuries. Today, even the simplest hammers are more advanced than the first one.
Hammer Design
The two major hammer parts are the head and the handle. The design of these two parts depends on the specific usage and the type of the hammer.
The striking surface of the head is called the face. It can be flat (plain faced), or slightly convex, (bell faced) etc.
The head surface around the face is called the poll. The poll is attached to the main part by a slightly tapered neck. On the opposite end, there may be a claw, a pick, a ball peen, or a cross peen etc., depending on the type of hammer.
Hammer are classified by the weight of the head and the length of the handle.
The Manufacturing Process
Production of hammers varies from company to company, depending on the capacity and manufacturing methods. Some companies make their own handles, while others purchase the handles from suppliers.
Let’s check a common process for making a hammer.
1. The head
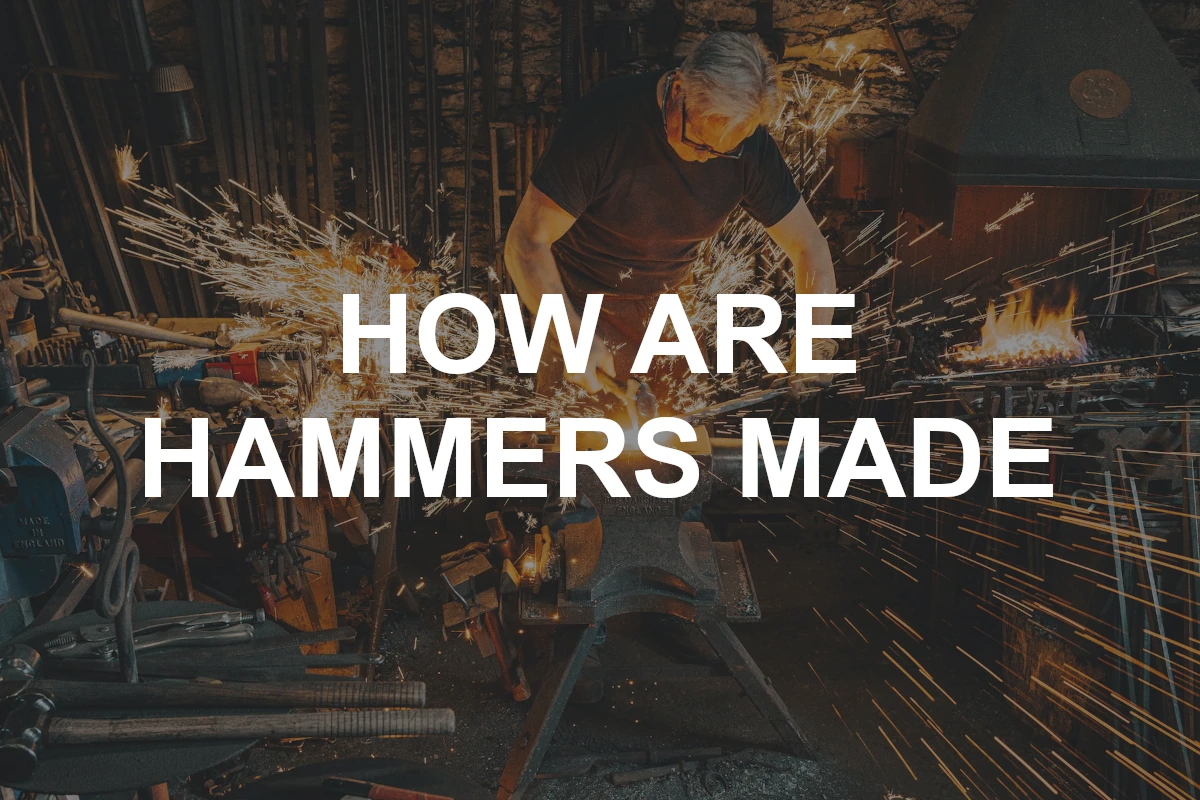
- The head is made by a process called hot forging. A steel bar is heated to about 2,200-2,350°F (1,200-1,300° C). This may be done with open flame torches or by passing the bar through a high-power electrical induction coil. The forging process aligns the internal grain structure of the steel and provides a much stronger and more durable piece. Upon successful forging, the head is cooled and polished for any rough spots.
- The head needs to be heat treated to harden - this causes the steel to form a different grain structure harder than the rest of the head. It will prevent damage to the hammerhead when used.
- Finally, the heads are cleaned with a stream of air, aka shot blasting - they may be painted and polished afterwards.
2. The handle
- If the hammer has a wood handle, it is formed on a lathe. A piece of wood is cut to the desired length and secured at each end in the lathe. As the wood spins around the long axis of the handle, a cutting tool moves in and out rapidly to cut the handle profile. The finished handle is clamped in a holding device and a slot is cut diagonally across the top of the handle. The handle is then sanded to give it a smooth surface.
- If the hammer has a steel-core handle, the core is formed by extrusion - it is a process where heating a bar of steel and forcing it through an opening with the desired cross-sectional shape.
- If the hammer has a graphite fibre-reinforced core, the core is formed by pultrusion - it is a process of gathering graphite fibres and pulling them through an opening with the desired cross-sectional shape while epoxy resin is forced through the opening at the same time. The core may then have a protective plastic jacket moulded around it.
3. Assembly
- Wood handle hammer - the handle is inserted up through the eye of the head. A wood wedge is tapped down into the slot on the top of the handle, forcing the two halves to press against the head. It provides sufficient friction to hold the head. The wood wedge is secured in place with two smaller steel wedges driven through it crossways. The handle may then be labelled with ink or an adhesive sticker to show the manufacturer, brand name, etc.
- Steel or graphite fibre-reinforced core hammer - the handle is inserted up through the adze eye of the head and liquid epoxy resin is then poured through the top of the hole to fasten the handle. The handle is placed in a hollow die and a rubber grip is moulded around its lower part. Once finished, the handle may be labelled with a sticker of the manufacturer, or brand name, etc.
4. Quality Control
- Most of the manufacturing process steps are monitored like regular visual inspection and measurements, yet probably the most important step is the heat treatment. This step is particularly controlled for temperatures and rates of heating and cooling as these are critical to form a proper hardness.
To recap
Important steps in making a hammer are:
- Material: Selection of the appropriate materials for the hammer head and handle. The head is often composed of high-carbon steel or other alloys, while the handle might be wood, plastic, or metal.
- Forging: After heating the metal to a specific temperature, shaping the basic form of the hammer head with a forging press or manually.
- Shaping: Cutting the hammer head precisely to eliminate surplus material, resulting in exact shapes of the hammer face and claw.
- Heat Treatment: Quenching and tempering to increase the hammer head’s hardness. Quenching is the quick cooling following heating, whereas tempering is heating at a lower temperature to release tensions and avoid breaking.
- Grinding and polishing: Smoothing the hammer head’s surface by removing the oxide layer and burrs.
- Assembly: Securing the handle to the hammer head. A wooden handle is often fitted into a hole in the head and attached with a wedge; for metal or plastic handles, bolts or adhesives may be used.
- Coating: Applying anti-rust paint or other coatings to the hammer head to prevent corrosion and improve aesthetics.
- Quality Inspection: Check the weight, balance, and secure connection of the hammer’s components to assure product quality.
Conclusion
When modern hammers are compared to the original ones, you can see huge improvements that helped develop a tool that we use today. Modern hammers made by Klein, Ideal, Gedore, Vaughan etc., have gone through years of engineering and design improvements.
