Tools

How to Remove Rust from Old Tools: A Complete Step-by-Step Guide

Rusty tools (knives, wrenches) on a wooden background

Rust can be quite dangerous as it can turn even the highest-quality tools into useless junk. However, before you toss out the old wrench or screwdriver, know this: most rusty tools can be completely restored with a bit of time, elbow grease, and the right techniques.

Whether you're a seasoned DIYer, or just someone who forgot the hammer in the rain, our guide will walk you through multiple methods to remove rust and protect your tools for years to come.

Why Do Tools Rust?

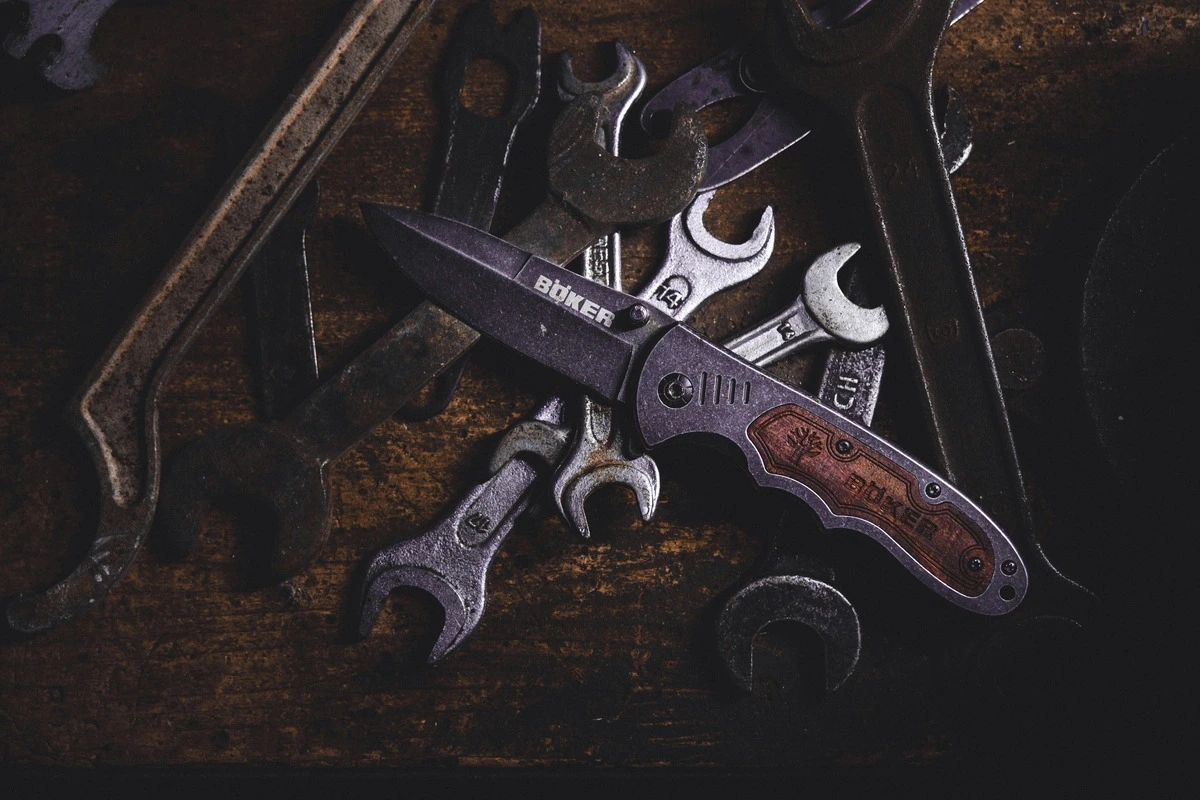
Rust is a result of a chemical reaction between iron, water, and oxygen. If you leave your iron tools outside it gets exposed to rain, humidity or moisture for long periods, resulting in rust.

Rust not only damages metal, but also makes tools harder and dangerous to use. The good news is that rust usually affects the surface, thus with proper treatment, most tools can be fully restored. 

Assessing the Rust Level

Before we dive into rust removal, determine how severe the rust is:

  • Light Surface Rust: Dusty, flaky rust that can be rubbed off easily.

  • Moderate Rust: Deeper corrosion, some pitting visible.

  • Severe Rust: Deep pitting, thick rust layers, parts may be seized or frozen.

Your rust removal method will depend on the severity.

Tools and Materials You’ll Need

Here are some common items that help in rust removal:

Natural/Household Supplies

  • White vinegar

  • Baking soda

  • Lemon and table salt

  • Steel wool

  • Toothbrush or wire brush

  • Sandpaper (medium to fine grit)

Commercial Products

  • WD-40

  • Evapo-Rust

  • Naval Jelly or rust dissolver gel

Other Essentials

  • Rubber gloves

  • Safety goggles

  • Clean cloths or paper towels

  • Bucket or plastic container

  • Mineral oil or 3-in-1 oil (for protection)
Two men, one holding new and slightly rusty wrenches and the other holding entirely rusty wrench

Method 1: Soak Tools in White Vinegar

Best For: Light to moderate rust on full metal tools.

Why It Works

White vinegar contains acetic acid, which reacts with rust and breaks it down chemically.

Steps

  1. Submerge the Tool: Place your rusty tool in a bucket or container and cover it completely with white vinegar. Let it soak for 6–24 hours, depending on rust severity.


  2. Scrub Off the Rust: Remove the tool and use steel wool, a wire brush, or an old toothbrush to scrub off the loosened rust.


  3. Neutralize the Acid: Rinse the tool with water and then dip it in a baking soda + water solution (1 tablespoon per cup) to neutralize leftover vinegar.


  4. Dry Thoroughly: Dry it with a cloth and leave it in a warm, dry area for an hour or two.


  5. Apply Protective Oil: Use a few drops of mineral oil or WD-40 to coat the surface and prevent new rust from forming.

Method 2: Baking Soda Paste

Best For: Spot treating surface rust on tools with sensitive or mixed materials.

Why It Works

Baking soda is mildly abrasive and forms a paste that can lift off rust without damaging the underlying metal.

Steps

  1. Make a Paste: Mix baking soda with water until it forms a thick paste.


  2. Apply to Rust: Use a cloth or brush to coat the rusted area with the paste.


  3. Let Sit: Allow it to sit for 1-2 hours.


  4. Scrub Gently: Use a toothbrush or scrub pad to remove the rust.


  5. Rinse and Dry: Wash off the paste, dry thoroughly, and oil the metal.


Note: This method is slower but safer for chrome-plated or delicate tools.

Method 3: Lemon and Salt

Best For: Light rust on handheld tools or items with wooden handles.

Why It Works

Citric acid in lemon juice reacts with rust, and the salt acts as an abrasive scrubber.

Steps

  1. Coat with Salt: Sprinkle salt over the rusted area generously.

  2. Add Lemon Juice: Squeeze fresh lemon juice over the salt until it’s saturated.

  3. Let Sit: Wait 2-3 hours for the reaction to take place.

  4. Scrub Away Rust: Use the lemon rind or a brush to scrub the area.

  5. Rinse and Dry: Rinse off residue, dry thoroughly, and apply oil.

Bonus: It smells better than vinegar!

Method 4: Use a Commercial Rust Remover

Best For: Heavy rust or valuable tools that need a deep clean with minimal damage.

Products like:

  • Evapo-Rust – water-based, non-toxic, reusable.

  • WD-40 Specialist Rust Remover Soak – soak and rinse.

  • Naval Jelly – brush-on gel, rinse after 10-15 minutes.

Steps

  1. Read Instructions: Follow the manufacturer’s directions carefully.

  2. Apply or Soak: Apply the product or soak the tool for the recommended duration.

  3. Scrub and Rinse: Scrub off the loosened rust, rinse thoroughly.

  4. Dry and Protect: Dry completely and apply a protective oil coating.

Warning: Some chemical removers can damage paint, wood, or coatings. Use with care.

Finishing Touch: Polishing and Protection

Once your tools are rust free, take it a step further:

  • Use fine-grit sandpaper to polish surfaces if desired.

  • Buff with a clean cloth for a smooth finish.

  • Always store tools dry, preferably in a toolbox or hanging on a pegboard.

  • Consider using tool wraps, silica gel packs, or dehumidifiers in storage areas.

How to Prevent Rust in the Future

Once your tools are clean and functional, keep them to stay that way:

  • Wipe tools down after every use
  • Apply a thin coat of oil regularly
  • Store in a low-humidity area
  • Avoid leaving tools outdoors or in damp garages
  • Use a rust-inhibitor spray on frequently used tools

Final Thoughts

Rust can impair your tools but with the right approach, almost any tool can be saved. Whether you go with natural products like vinegar and lemon or rely on professional rust removers, consistency and care will make all the difference.

Restoring your tools isn’t just practical—it’s rewarding. You’ll save money, reduce waste, and maybe even develop a new hobby in tool restoration.